Pan Asian Biz
Pan Asian Biz
Pan Asian Biz
What are You Looking for?
Search
Auto
Business
crypto
Editorial
Entertainment
Health
Tech
Technology
Uncategorized
15 posts
By
William Johnson
July 3, 2025
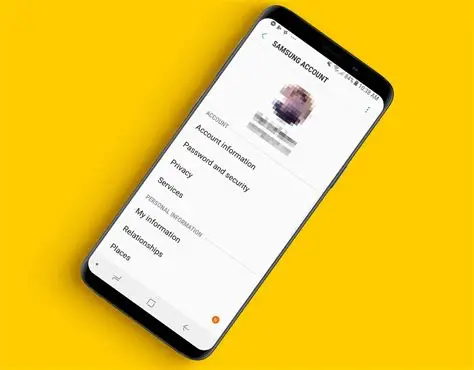
How to Create a Samsung Account Step-by-Step
Uncategorized
By
Oliver Noah
May 21, 2025
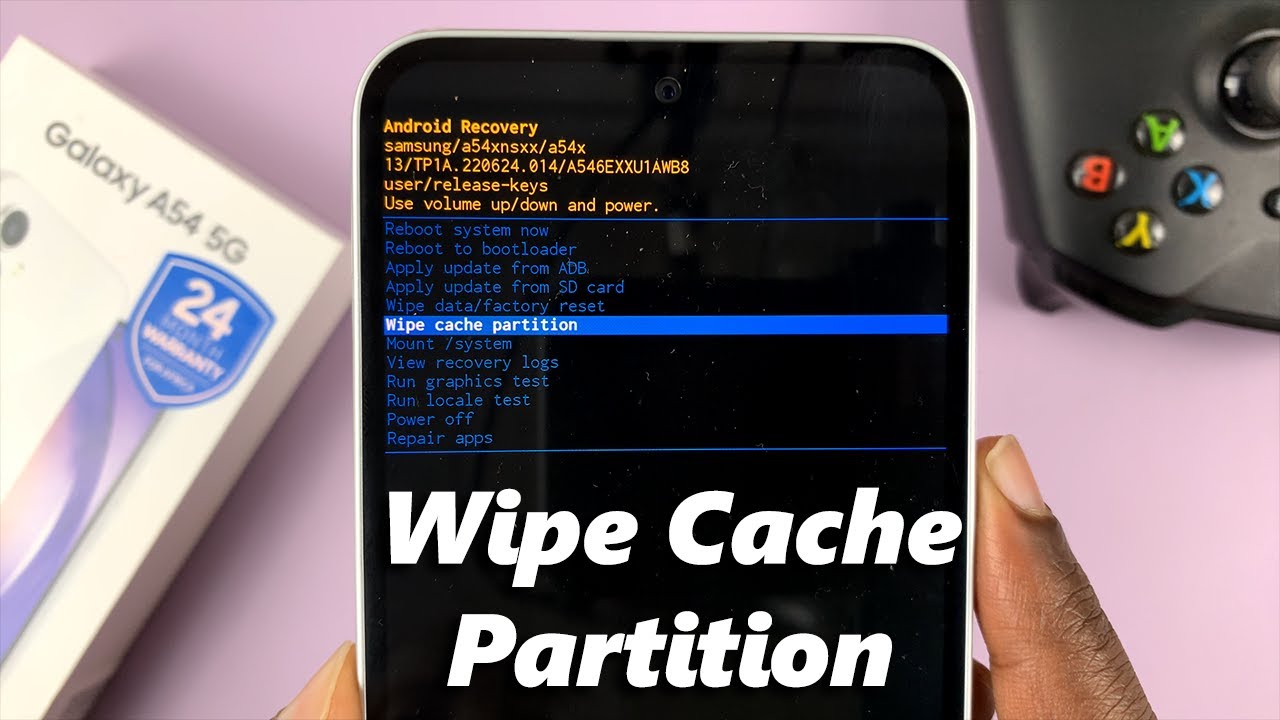
How to Clear Cache Partition on Samsung device
Uncategorized
By
Oliver Noah
May 17, 2025
How to Grow your Instagram Followers Organically in 2025
Uncategorized
By
Oliver Noah
May 16, 2025
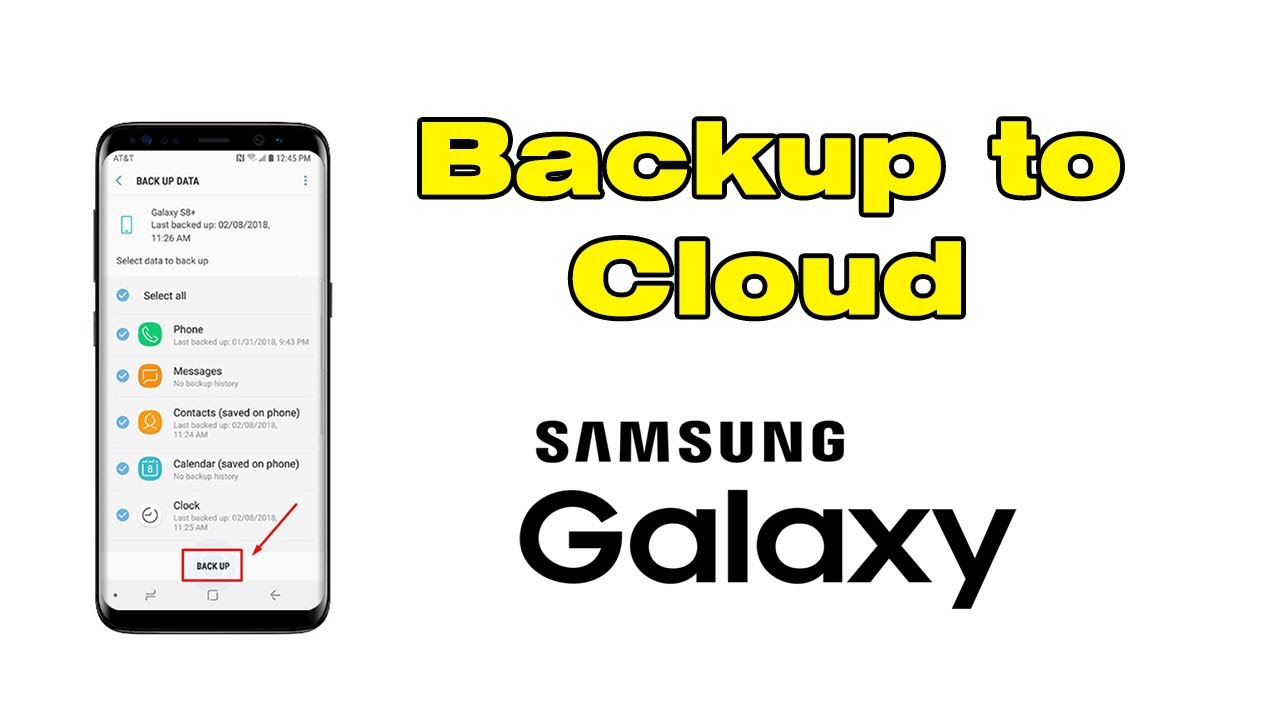
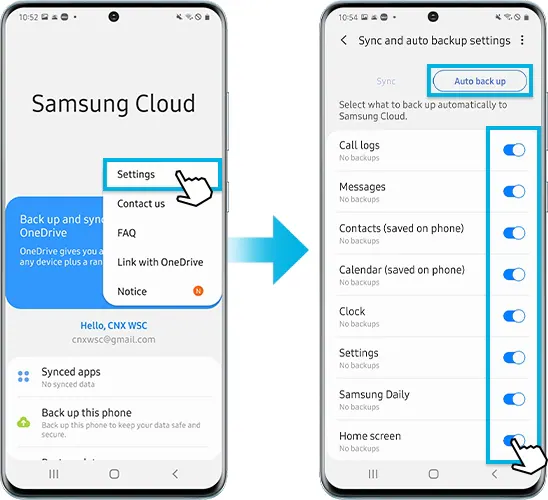
How to backup Samsung Phone to Samsung Cloud
Uncategorized
By
Oliver Noah
May 15, 2025
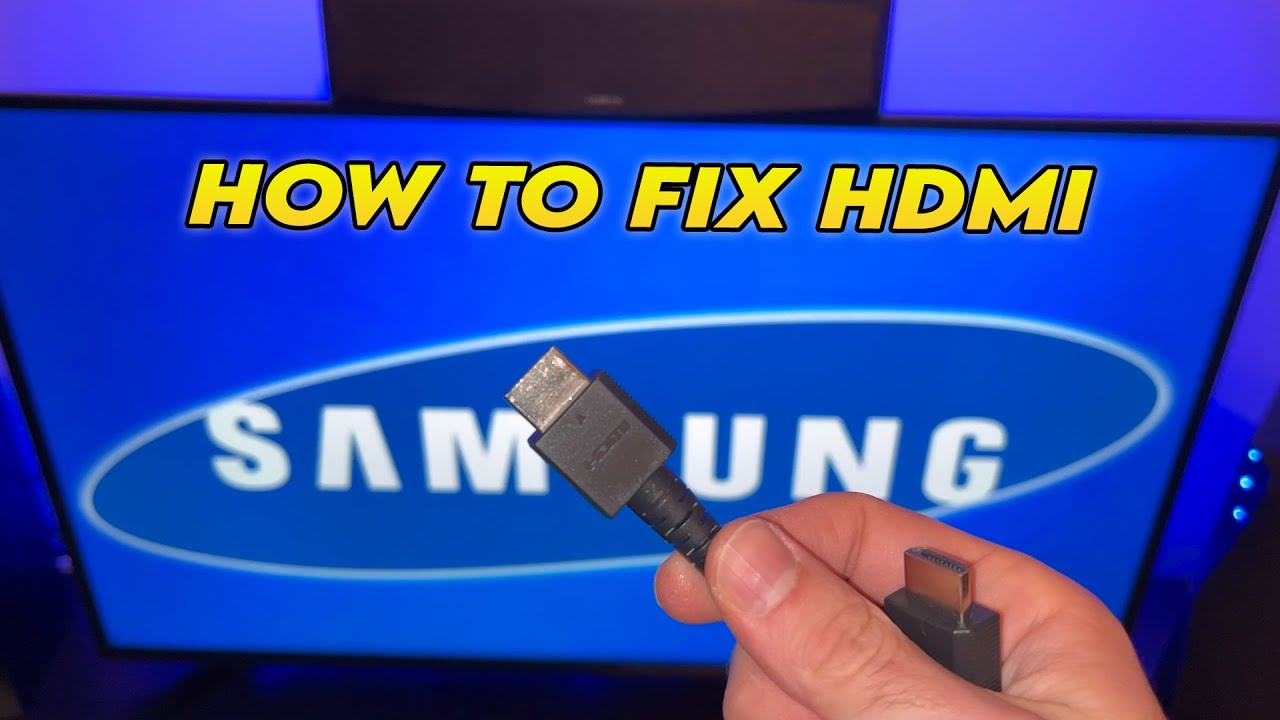
How to Fix No Signal on Samsung Smart TV HDMI
Uncategorized
By
Lucas Johnson
May 13, 2025
How to Grow your TikTok Account from 0 to 10k Followers
Uncategorized
By
Oliver Noah
May 10, 2025
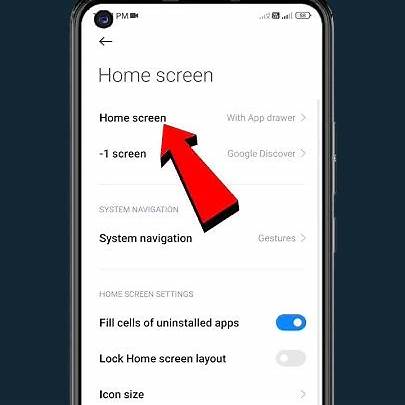
How to turn off app suggestions in One UI
Uncategorized
By
Oliver Noah
May 9, 2025
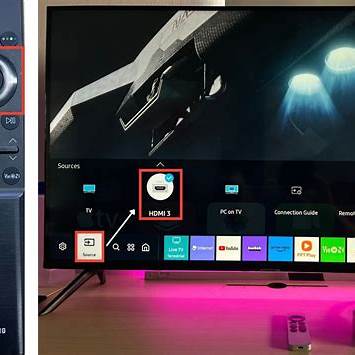
How to Change Input source on Samsung Smart TV
Uncategorized
By
Oliver Noah
May 8, 2025
How to Back up Samsung Phone to Samsung Cloud
Uncategorized
By
Lucas Johnson
May 7, 2025
How to Use Green Screen on TikTok
Uncategorized