Partitioning a hard drive can seem like a daunting task, especially when the thought of losing your precious files looms large. However, whether you want to organize your data better, install multiple operating systems, or simply create a dedicated backup drive, partitioning a hard drive in Windows without losing data is entirely possible using built-in tools. This guide will walk you through the safe and effective methods to achieve this, ensuring your data remains intact.
Understanding Disk Partitioning
Before we begin, let’s clarify what disk partitioning means. A partition is a logical division of a physical storage drive. Imagine a single large room (your hard drive) that you want to divide into smaller, separate rooms (partitions) for different purposes. Each partition then acts as an independent drive, even though it resides on the same physical disk. This allows for better organization, improved security for your system files, and the flexibility to run multiple operating systems.
Key Concepts:
- Shrink Volume: Reducing the size of an existing partition to create unallocated space.
- Extend Volume: Increasing the size of an existing partition by using adjacent unallocated space.
- New Simple Volume: Creating a new partition from unallocated space.
- Unallocated Space: Space on the hard drive that is not currently part of any partition.
Important Precaution: While the methods described here are designed to be data-safe, it’s always recommended to back up your important data before making any significant changes to your hard drive. Accidents can happen, and a backup is your ultimate safeguard.
Method 1: Using Disk Management (Built-in Windows Tool)
Windows’ built-in Disk Management utility is the safest and most straightforward way to partition a hard drive without losing data. This tool allows you to shrink existing partitions to create unallocated space, and then use that space to create new partitions.
Step 1: Open Disk Management
There are a few ways to access Disk Management:
- Recommended: Right-click the Start button (or press Windows Key + X) and select “Disk Management.”
- Via Run: Press Windows Key + R, type diskmgmt.msc, and press Enter.
- Via Search: Type “Disk Management” into the Windows search bar and select “Create and format hard disk partitions.”
Once opened, you’ll see a graphical representation of your hard drives and their existing partitions.
Step 2: Shrink an Existing Volume
To create a new partition, you first need free space. You’ll achieve this by shrinking an existing partition, typically your C: drive.
- Identify the Source Partition: Locate the partition you want to shrink (e.g., your C: drive). Make sure it has enough free space to accommodate your new partition.
- Right-click: Right-click on the desired partition (e.g., C: drive) and select “Shrink Volume…”
- Enter Shrink Amount: A dialog box will appear, showing you the total size before shrink, the available shrink space, and the size of space to shrink.
- “Enter the amount of space to shrink in MB”: This is where you specify the size of your new partition. For example, if you want a new 100 GB partition, enter 102400 (1 GB = 1024 MB).
- Ensure the “Size of the available shrink space in MB” is greater than or equal to the amount you wish to shrink.
- Shrink: Click the “Shrink” button. Disk Management will process the request. This might take a few moments.
After the process, you’ll see a new section labeled “Unallocated” space on your hard drive, typically to the right of the partition you just shrunk. This unallocated space is what you’ll use for your new partition. Your existing data on the shrunk partition will remain untouched.
Step 3: Create a New Simple Volume
Now that you have unallocated space, you can create a new partition from it.
- Right-click Unallocated Space: Right-click on the newly created “Unallocated” space.
- Select “New Simple Volume…”: This will open the New Simple Volume Wizard.
- Follow the Wizard:
- Welcome Page: Click “Next.”
- Specify Volume Size: The “Simple volume size in MB” will default to the maximum available unallocated space. You can accept this or enter a smaller size if you want to create multiple new partitions from the unallocated space. Click “Next.”
- Assign Drive Letter: Choose a drive letter for your new partition (e.g., D:, E:). Click “Next.”
- Format Partition:
- File system: For general use in Windows, select NTFS.
- Allocation unit size: Leave as “Default.”
- Volume label: Give your new partition a meaningful name (e.g., “Data,” “Games,” “Backup”).
- Perform a quick format: Keep this checked for a faster formatting process.
- Enable file and folder compression: This is optional; leave unchecked unless you specifically need it.
- Click “Next.”
- Summary: Review your settings and click “Finish.”
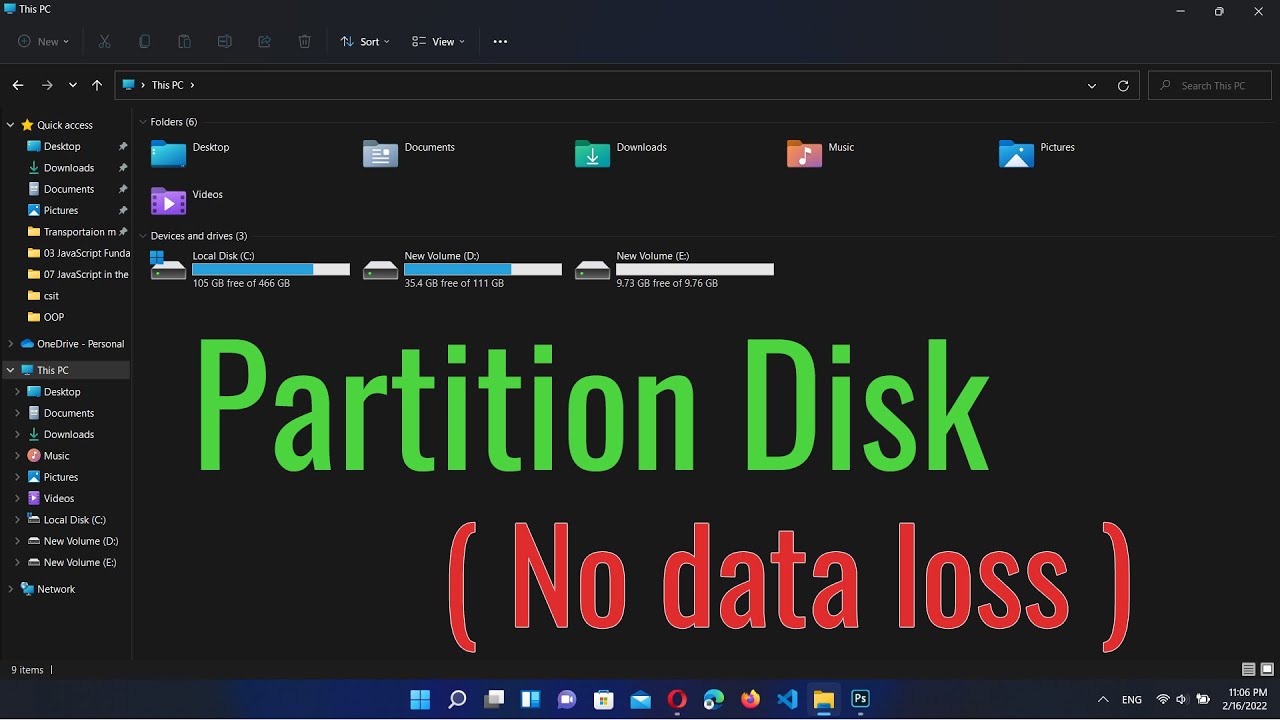
Disk Management will format the new partition, and it will appear as a new drive in “This PC” (formerly “My Computer”). You have successfully partitioned your hard drive without losing data!
Method 2: Using Command Prompt (for Advanced Users)
The Command Prompt offers an alternative way to partition a hard drive, primarily using the diskpart utility. This method is more text-based and requires precision, making it suitable for users comfortable with command-line interfaces. Errors can be more critical here, so proceed with extra caution.
Step 1: Open Command Prompt as Administrator
- Search for “cmd” in the Windows search bar.
- Right-click on “Command Prompt” and select “Run as administrator.”
Step 2: Enter Diskpart
- Type diskpart and press Enter. This will launch the DiskPart utility.
- Type list disk and press Enter. This displays all physical disks connected to your computer. Identify your target hard drive by its size (e.g., Disk 0, Disk 1).
- Type select disk X (replace X with the number of your target disk, e.g., select disk 0) and press Enter.
Step 3: Shrink a Partition
- Type list partition and press Enter. This shows all partitions on the selected disk.
- Type select partition Y (replace Y with the number of the partition you want to shrink, usually your main C: drive) and press Enter.
- Type shrink desired=SIZE_IN_MB (e.g., shrink desired=102400 for 100 GB) and press Enter.
Step 4: Create a New Partition
- Type create partition primary and press Enter. (Use create partition logical if you need a logical partition within an extended partition, though primary is common for new data drives).
- Type format fs=ntfs quick and press Enter. This formats the new partition with the NTFS file system quickly.
- Type assign letter=Z (replace Z with your desired drive letter, e.g., assign letter=D) and press Enter.
- Type exit to leave DiskPart, then type exit again to close Command Prompt.
Third-Party Partitioning Software (Alternative)
While Windows Disk Management is sufficient for most users, some third-party partitioning tools offer more advanced features, a more intuitive graphical interface, or the ability to perform operations that Disk Management might restrict (like moving partitions or converting partition types without data loss in some scenarios). Examples include MiniTool Partition Wizard, EaseUS Partition Master, and AOMEI Partition Assistant.
- Advantages: Often more user-friendly interfaces, more robust features like migrating OS, converting MBR to GPT without data loss, or resizing encrypted partitions.
- Considerations: Always download from official websites to avoid malware. Free versions often have feature limitations, and paid versions unlock full functionality. While generally safe, always back up your data before using any third-party tool.
General Steps for Third-Party Software (Conceptual):
- Download and Install: Get the software from its official website.
- Launch: Open the application.
- Select Drive/Partition: Identify the drive and partition you want to modify.
- Choose Operation: Select “Shrink,” “Resize,” or “Create Partition” from the available options.
- Specify Size/Settings: Use sliders or input boxes to define the new partition size and other parameters (file system, drive letter).
- Apply Changes: Most software will queue operations. You’ll need to click an “Apply” or “Execute” button to start the actual process. The computer might restart.
Common Scenarios for Partitioning
- Separating OS and Data: A common practice is to have Windows on one partition (C: drive) and all your personal files, documents, and media on another (e.g., D: drive). This makes reinstalling Windows easier without affecting your data.
- Dual-Booting Operating Systems: If you want to install Linux alongside Windows, you’ll need a separate partition for Linux.
- Dedicated Backup Drive: Create a partition specifically for backups of your important files.
- Organizing Files: Keep different types of files (e.g., Games, Work, Photos) on separate partitions for better organization.
Troubleshooting Common Issues
- “Shrink Volume” button is grayed out: This usually means there isn’t enough contiguous free space at the end of the partition, or there are unmovable files (like hibernation files or system restore points) blocking the shrink.
- Solution: Disable System Protection and Hibernation temporarily, then try shrinking. Run Disk Defragmenter (though less critical on SSDs).
- Not enough unallocated space created: You might have specified a smaller shrink amount than intended, or again, unmovable files are restricting the available space.
- New partition not showing up: Ensure you completed all steps, especially assigning a drive letter and formatting the new volume.
- Disk shows as MBR or GPT: For modern Windows installations, GPT (GUID Partition Table) is generally preferred and supports larger drives and more partitions. MBR (Master Boot Record) is older. Disk Management can create partitions on both, but converting between them usually requires data deletion, unless using specialized third-party tools.
Final Thoughts
Partitioning a hard drive in Windows without losing data is a straightforward process when done correctly using Disk Management. Remember to plan your partition sizes, back up your critical data, and proceed cautiously, especially if using Command Prompt. By organizing your storage effectively, you can improve your system’s efficiency and manage your files with greater ease.