What are You Looking for?
Search
Auto
Business
crypto
Editorial
Entertainment
Health
Tech
Technology
Editorial
49 posts
By
Oliver Noah
June 3, 2025
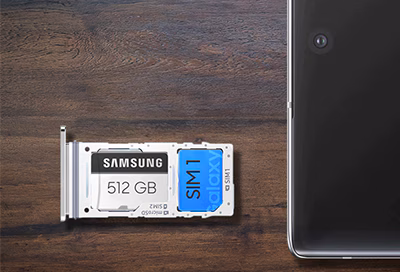
How to Expand Storage with SD Card on Samsung Galaxy
Editorial
By
Oliver Noah
May 31, 2025
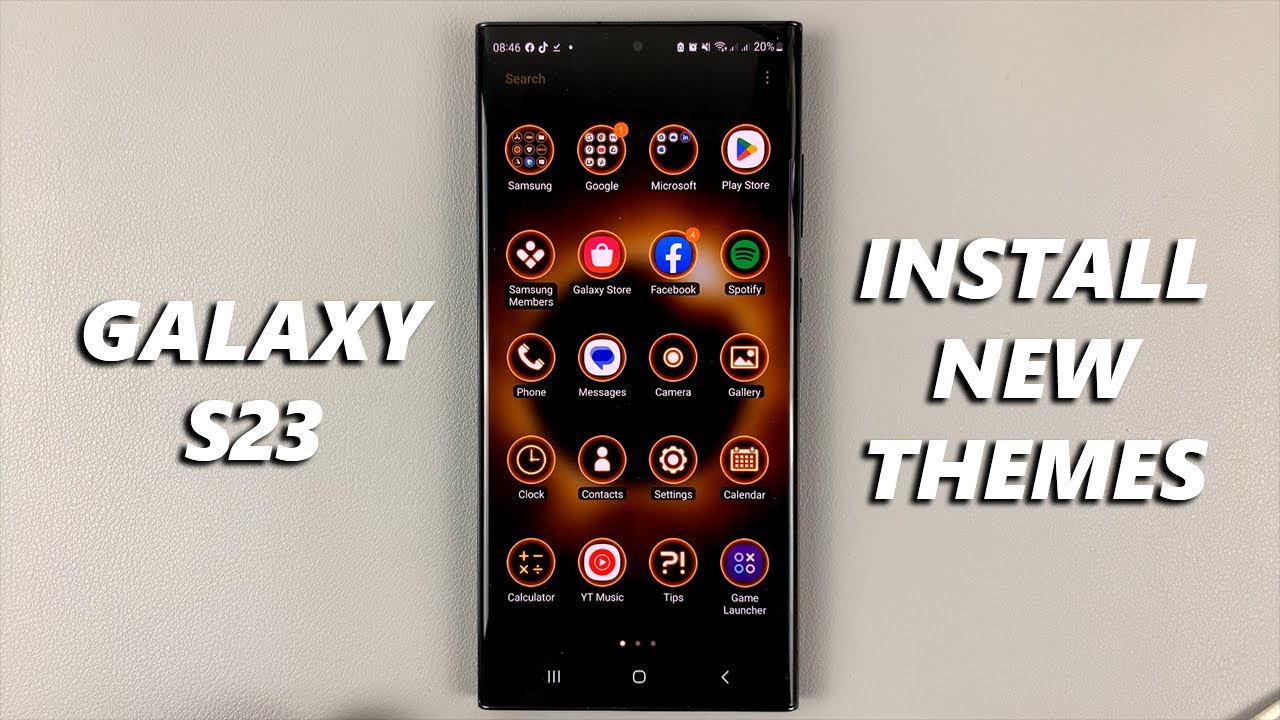
How to Change Samsung Theme
Editorial
By
Oliver Noah
May 30, 2025
How to Share Internet from Samsung phone Via Hotspot
Editorial
By
Oliver Noah
May 23, 2025
How to Block Calls and Texts on Samsung Android 14
Editorial
By
Oliver Noah
May 20, 2025
How to Record Screen on iPhone with Sound
Editorial
By
Oliver Noah
May 19, 2025
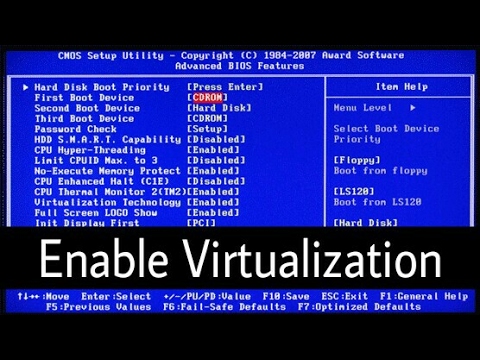
how to enable virtualization in BIOS for Windows
Editorial
By
Lucas Johnson
May 14, 2025
How to Mirror iPhone to Samsung Smart TV
Editorial
By
Lucas Johnson
May 6, 2025
How to Find TikTok Trends Using AI Analytics
Editorial
By
Oliver Noah
May 5, 2025
How to Become a Verified Influencer on Instagram
Editorial
By
James Williams
April 25, 2025
How to Run a Successful Influencer Marketing Campaign
Editorial