What are You Looking for?
Search
Auto
Business
crypto
Editorial
Entertainment
Health
Tech
Technology
Editorial
49 posts
By
James Williams
June 18, 2025
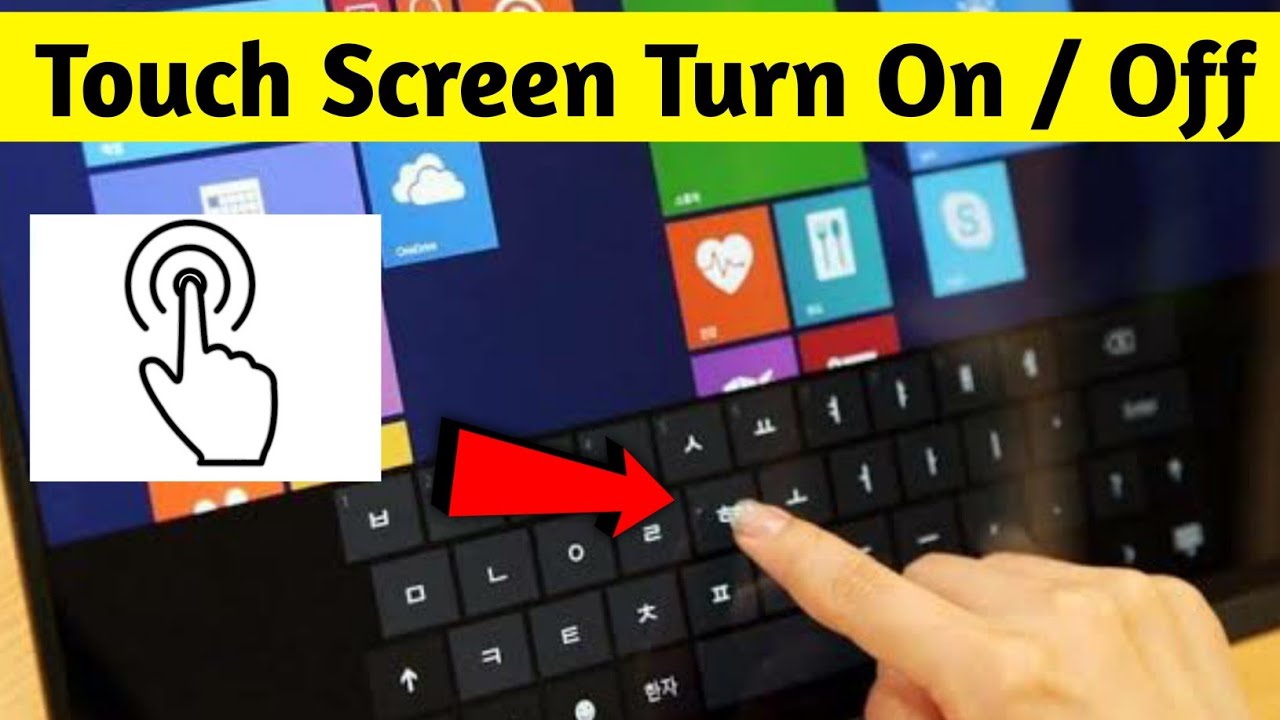
How to Enable Touchscreen Mode on a 2-in-1 laptop
Editorial
By
Oliver Noah
June 17, 2025
How to Learn Basic Computer Skills for Beginners
Editorial
By
Lucas Johnson
June 16, 2025
How to Measure Heart Rate with Your Samsung Galaxy Watch
Editorial
By
Lucas Johnson
June 14, 2025
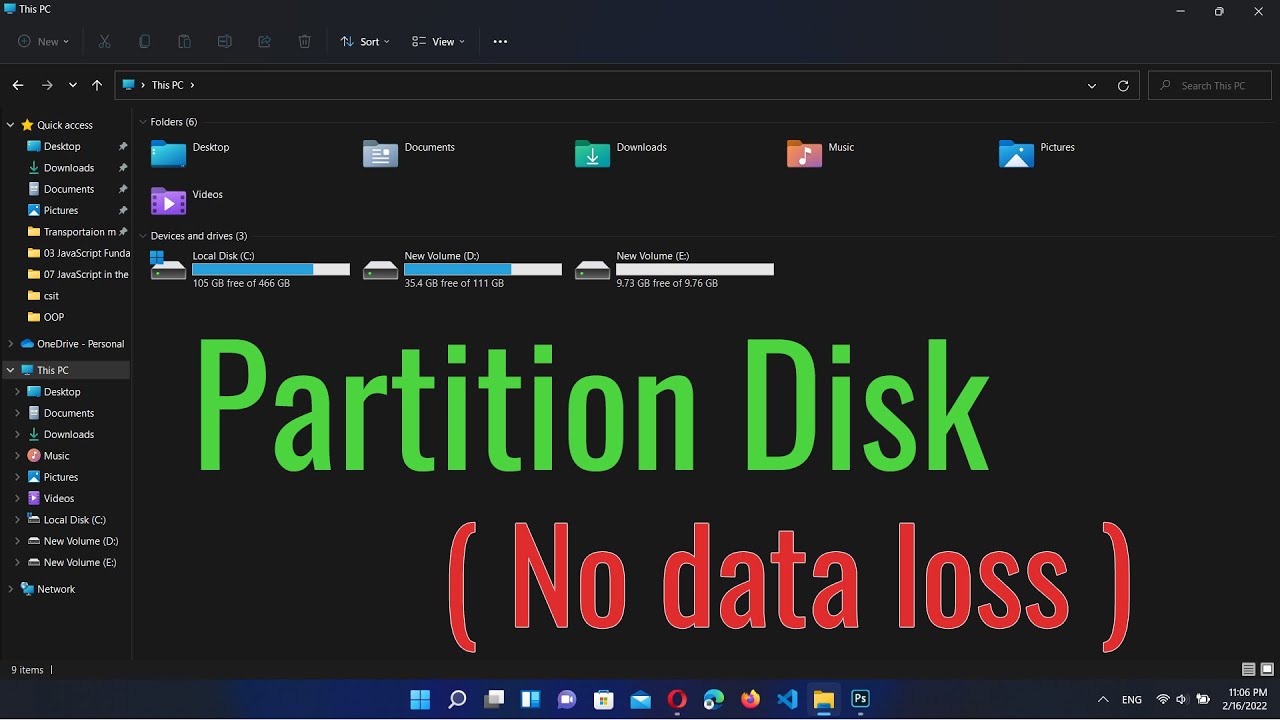
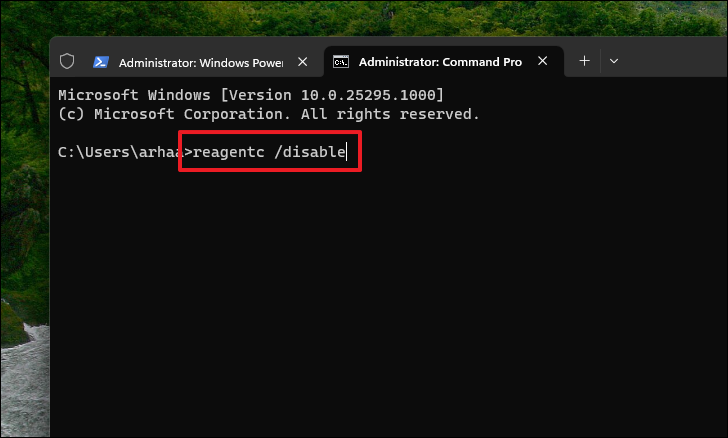
How to Partition a Hard Drive in Windows Without Losing Data
Editorial
By
Oliver Noah
June 13, 2025
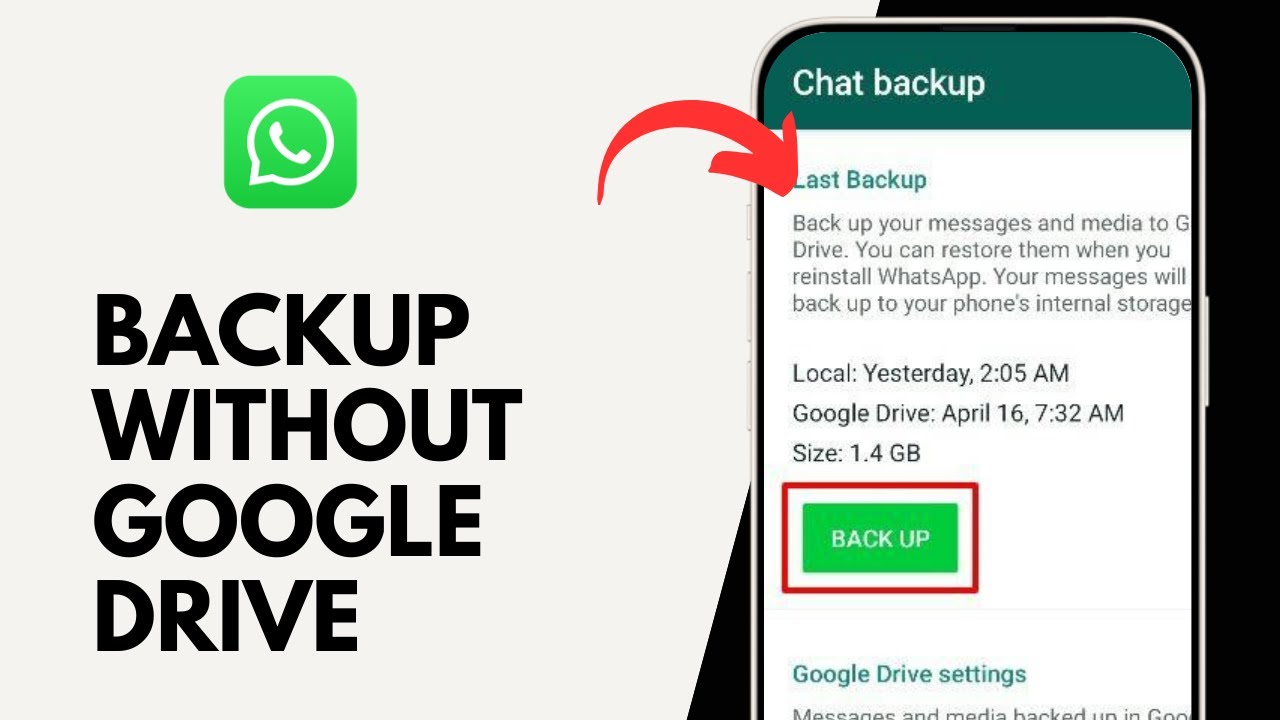
How to Back up WhatsApp on Samsung Without Google Drive
Editorial
By
Lucas Johnson
June 12, 2025
How to Clean up Samsung phone Storage Without Deleting Apps
Editorial
By
Oliver Noah
June 11, 2025
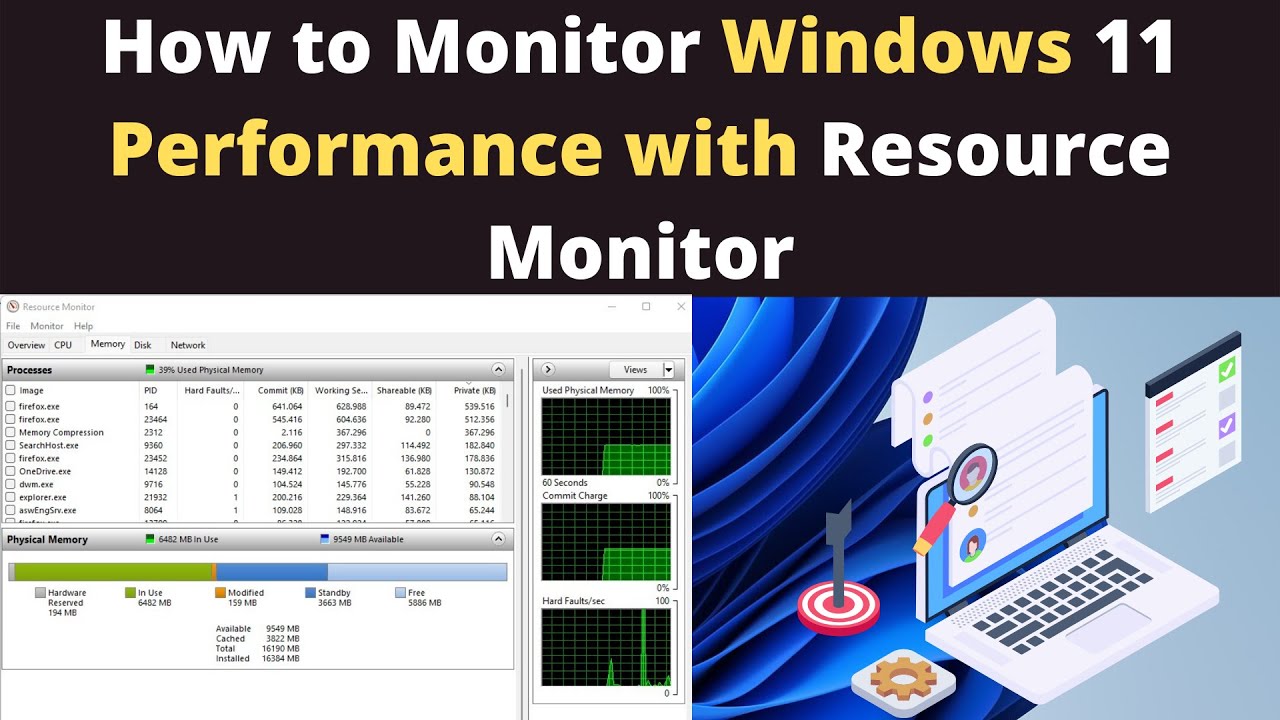
How to Monitor PC Performance using Resource Monitor
Editorial
By
Lucas Johnson
June 7, 2025
How to Fix Black Screen After Login on Windows 11
Editorial
By
Oliver Noah
June 6, 2025
How to Remove Viruses from Your Computer Without Antivirus
Editorial
By
Oliver Noah
June 4, 2025
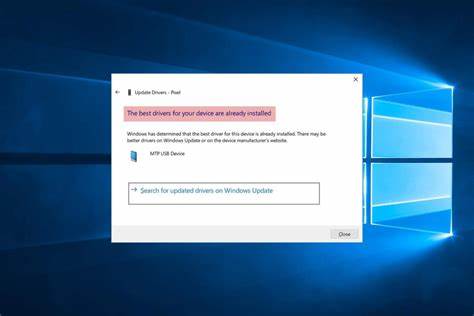
How to Check If Drivers are Installed Properly in Windows
Editorial